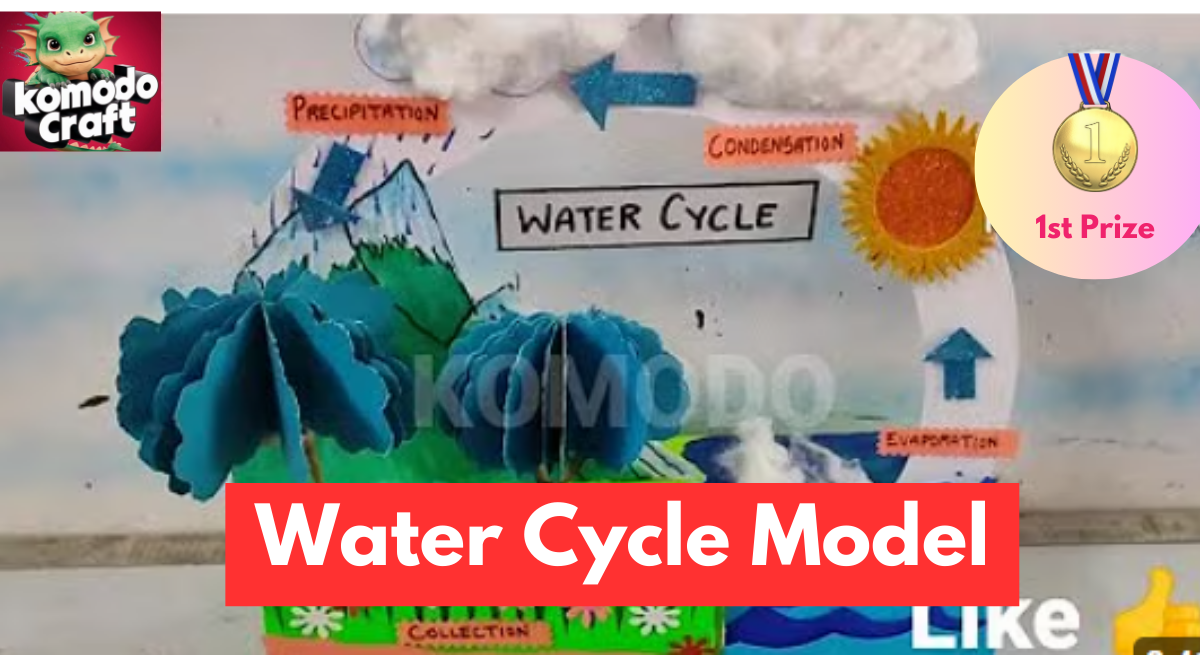
The water cycle is one of the most fascinating processes on Earth. It explains how water moves through the atmosphere, land, and oceans, making life possible. A water cycle model is a fun and creative way to learn and teach others about this important natural process. In this guide, we’ll show you how to make a water cycle model step by step. Let’s get started!
Materials: Water Cycle model
You can make a water cycle model using simple materials that are easy to find. Here’s what you’ll need:
- Small pebbles or rocks
- Blue food coloring (optional)
- Plastic wrap
- Tape or a rubber band
- Water
- A small lamp or flashlight (to act as the sun)
- Cotton balls (to represent clouds)
- Labels and markers (for naming parts of the cycle)
- A cardboard base (optional, for display)
Steps to Make Water Cycle model
Step 1: Prepare the Base
- Place your clear container on a sturdy table or the cardboard base. The container will act as the “Earth” for your water cycle model.
- Add a layer of sand or soil to one side of the container to create land. Make it slope gently to mimic the shape of hills or mountains.
- Spread small pebbles or rocks over the soil to make it look realistic.
Step 2: Add the Water
- Pour water into the bottom of the container on the opposite side of the soil. This represents the ocean, river, or lake in your model.
- If you want, add a few drops of blue food coloring to the water to make it look more like real water.
- Place the small cup or jar in the middle of the water. This will act as a collection point during precipitation.
Step 3: Cover and Seal
- Cover the top of the container with plastic wrap. Make sure it is tight and secure it with tape or a rubber band.
- The plastic wrap will trap water vapor, simulating the atmosphere where condensation and precipitation occur.
Step 4: Create the Sun
- Use a lamp or flashlight to act as the sun. Place it near the side of the container with the water.
- Turn on the lamp or flashlight. The heat will cause the water to evaporate, just like how the sun heats water in nature.
Step 5: Observe the Process
- Wait for a few minutes and watch what happens. The water will start to evaporate due to the heat.
- The water vapor will rise and hit the plastic wrap, where it cools down and forms tiny droplets (condensation).
- As more droplets form, they will combine and become heavier, eventually “raining” back down into the container (precipitation).
- The water will collect in the cup or jar and in the “ocean,” completing the water cycle.
How to Label the Model
To make your model educational, label each part of the water cycle:
- Evaporation: Attach a small label near the water source showing water turning into vapor.
- Condensation: Place a label near the plastic wrap where droplets form.
- Precipitation: Add a label where the water droplets fall.
- Collection: Label the cup or jar and the water in the container.
You can also add arrows to show the direction of water movement through the cycle.
Tips to Make Your Water Cycle Model

- Add clouds: Use cotton balls and stick them to the plastic wrap to represent clouds.
- Make it colorful: Use colored paper or paint to decorate the land and water.
- Add small trees or animals: Use small toy figures to make the model more engaging.
- Explain your model: Prepare a short explanation for each step of the water cycle. This will help you present it to your teacher and classmates.
Why Water Cycle Model is Important
Understanding the water cycle helps us learn how water moves around the Earth. It shows us why we should take care of our water resources and how important the sun and atmosphere are in keeping the cycle going. This model is a fun and hands-on way to explore science while being creative.
Conclusion
Making a water cycle model is a simple and enjoyable project that teaches you how nature works. By building this model, you’ll understand the steps of the water cycle and how they all connect. Plus, your model will look amazing in your classroom!
So gather your materials, follow these steps, and get ready to wow your classmates and teachers. Good luck with your project, and have fun learning!

As soon as I found this web site I went on reddit to share some of the love with them.