Creating a Wheatstone bridge working model for Class 12 | Physics School model lets create it with easy steps.
| Materials | Required |
|---|---|
| Light | Wire |
| 9V Battery | Battery Connector |
| On Off Switch | Cardboard |
| Marker | Chart paper |
Table of Contents
Table of Contents
Steps to Make Wheatstone Bridge Working Model
Step 1: Prepare the Base
- Use a wooden board or a sturdy piece of cardboard as the base for your model.
- Draw a simple diagram of the Wheatstone bridge on the board with a marker to guide your setup.
Step 2: Connect the Resistors
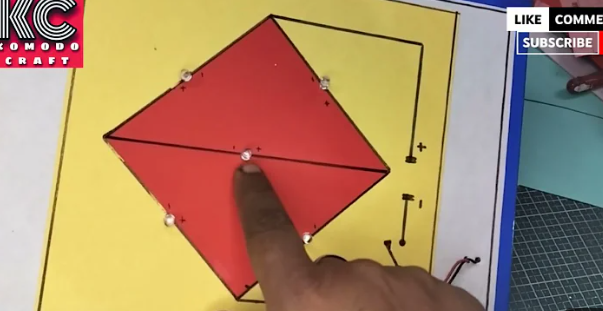
- Place four resistors on the cardboard. These will a make diamond shape:
- Two resistors on the top side (R1 and R2).
- Two resistors on the bottom side (R3 and R4) and R5 in middle.
- Fix them onto the base using tape, glue.
Step 3: Place one resistor in middle
- Place the R5 between the middle points of the two resistor pairs (R1-R3 and R2-R4).
- Use connecting wires to attach to the resistors. This will measure the current and help check if the bridge is balanced.
Step 4: Attach the Battery and Switch
- Connect the positive terminal of the battery to one corner of the resistor diamond.
- Connect the negative terminal of the battery to the opposite corner.
- Add a small ON / OFF switch in this connection.
Step 5: Test the Circuit
- Turn on the switch to complete the circuit.
- If the current flows through the galvanometer, it means the bridge is unbalanced. Adjust the resistors to balance the Wheatstone bridge working model .
Related – Square root math working model
How It Works
The Wheatstone bridge works on a simple principle:
- When the ratio of the resistors in one pair (R1/R2) equals the ratio in the other pair (R3/R4), the bridge is balanced.
- At this point, no current flows through the galvanometer.
This balance allows us to calculate the unknown resistance using the formula:
R1/R2=R3/R4R1 / R2 = R3 / R4R1/R2=R3/R4
Tips for a Great Model
- Use colorful wires and label the resistors (R1, R2, R3, R4) to make your model neat and easy to understand.
- Add a small chart to explain how the Wheatstone bridge works.
- If you want, you can use variable resistors (also called potentiometers) to make the bridge adjustable.
Why this Model is Amazing
Building a Wheatstone bridge helps you learn about circuits, resistors, and how electricity works. Plus, it’s a hands-on way to explore science and impress your teachers and classmates.
So, collect your materials and start creating your own Wheatstone bridge working model. Have fun experimenting with it, and good luck with your project!
Visit Komodo Craft

YouTube Channel: [Komodo Craft]
Welcome to Komodo Craft , your destination for guidance on school projects, models, assignments, and art and craft. We are a team of well-trained artists and craft experts dedicated to helping students excel in their school exhibitions and competitions.
Contact us today to learn more about our services and how we can help you excel in your school projects and exhibitions. Email: [shakunkumar55@gmail.com]
FAQ
Steps to make Wheatstone bridge working model physics subject?
Step 1: Prepare the Base
Step 2: Connect the Resistors
Step 3: Place one resistor in middle
and for full making of Wheatstone bridge working model, Read full article.
Materials Required for Wheatstone bridge working model?
Light
Wire
9V Battery
Battery Connector
On Off Switch
Cardboard
Marker
Chart paper